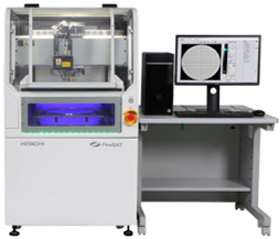
"FineSAT7" is the latest model with enhanced functions of the conventional "FineSAT Ⅲ" in order to meet the needs of recent years for higher quality and higher precision images for detecting defects / improved efficiency and productivity. The equipment adopts a newly developed in-house A/D conversion board*1 with a bult-in FPGA to improve the image quality of the internal structure and defects*2 of semiconductor devices and electronic components which are miniaturized and multilayered. In addition, the water tank is made larger, enabling the one-time inspection of 300mm (12-inch) wafers using a through transmission method used for inspection of complex shapes such as multilayer devices, contributing to improved efficiency.
With the self-developed A/D conversion board with a bult-in FPGA, improving the sampling resolution by 16 times and the measurement period by twice than the conventional machine, it is easier to observe high-frequency signals. Also, using a technique* that adds and averages ultrasonic waveforms from eight locations around a pixel's brightness, we can reduce random noise caused by thermal noise in electronic circuits and other factors, thereby improving the quality of defect-detected images.
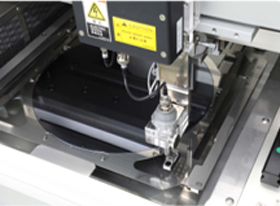
Conventionally, inspection of 300mm wafers using the through transmission method had to be performed half-side by side while moving the inspection object. The water tank that measures the object is made larger by reviewing the equipment layout in SAT7, and expanded the motion range of the measurement equipment including the probe that transmits and receives ultrasonic waves. As a result, it is possible to inspect the entire 300mm wafer at once. Larger water tank also improves workability, such as moving objects to be inspected in a water tank and removing bubbles that cause reflection of ultrasonic waves.
FineSAT7 complies with standards for the safety of semiconductor-manufacturing equipment set out by Semiconductor Equipment and Materials International (SEMI).
A maximum of 8Gsps A/D conversion board that supports 400MHz probes is adopted, enabling constant waveform recording. In addition, we have advanced the measurement display function by incorporating a unique logic circuit.
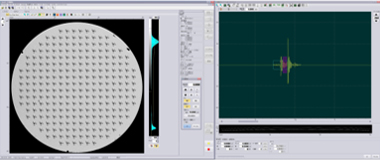
The equipment adopts a new A/D conversion board to enable constant waveform recording, and 14-bit processing enhances the analysis function. *1
FineSAT7 equips the scanner with a maximum speed of 1,200 mm/s and the high-speed processing PC, enabling high-speed measurement equal to or higher than that of conventional models even in the constant waveform recording.
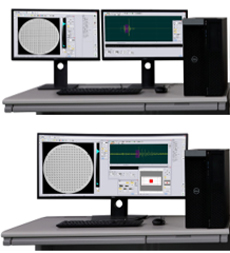
Top: The 23-inch wide monitor
Bottom: The large curved monitor
| Probe frequency (MHz) | 5~400 |
|---|---|
| Effective stroke (X × Y × Z) (mm) | 350 × 350 × 80 |
| Maximum scanning speed (mm/s) | 1,200 [Nominal value] |
| Maximum measurement counts (points) | Standard: 400,000,000 GUIPC option: 2,000,000,000 |
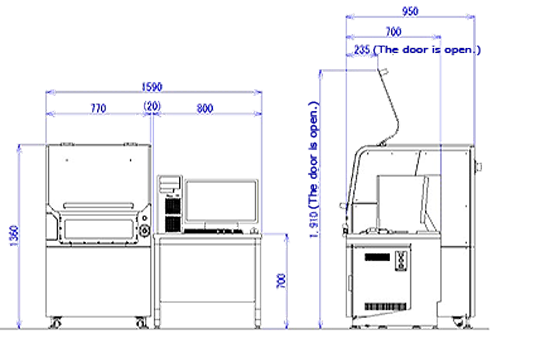
| External dimensions (W × H × D) (mm) | 1,590 × 1,360 × 950 (with the door closed) |
| Mass (kg) | Approx. 390 |
| Power supply (voltage/current/frequency) | AC100~240V/6.25~15A/60 Hz |
(Unit: mm)
